Add
Customer
Edit Customer
Delete Customer
Find Customer
Add Customer
Customer
POS
Retail Customers
Customer
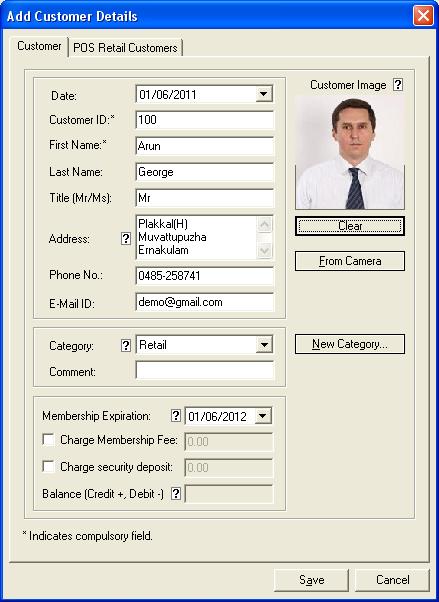
This
menu is used to add a Customer. The customer is identified with a unique number.
You can browse picture of the customer by clicking on Browse button. The
Browse window is as shown in Fig. 24 A.
After Browsing the image, Browse option will change as Clear
option to clear the image. You
can add all the details of the customer using this Add Customer menu. If you
need new category click on New Category button. When you click on New
Category button, Customer Category window will appear.
By
default Date (Membership) will be the current date and Membership
Expiration date should be after the current date. You can change both the
dates.
Charge
Membership Fee and Charge security deposit given in Default settings
will be automatically loaded here. If you want to change them please
check/uncheck the checkbox.
Shortcut
key for Add customer is Ctrl+A.
When
you click the Add Customer menu, a dialog box will be provided for
entering the customer details as shown in Fig 24.
The membership form of Add customer is as shown in Fig 24 B.
Fig
24: Add Customer Screen
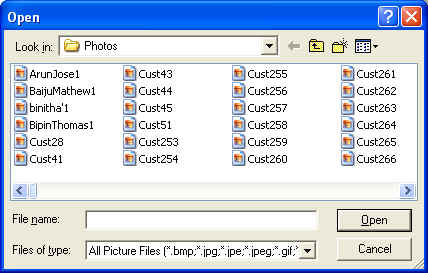
Fig
24 A: Browse window

Fig
24 B: Membership Form
POS Retail Customers
This menu is used by
Wholesale shop owners to add details of their retail customers. This menu
contains customer TIN (Tax Identification number) number and CST(Central Sales
Tax) number. These are needed only for customers from kerala,India. This details
are included in the bill.Provide the details here and click save button
to save the customer details.
POS
Retail Customers Dialog Box is as shown in Fig 92 .
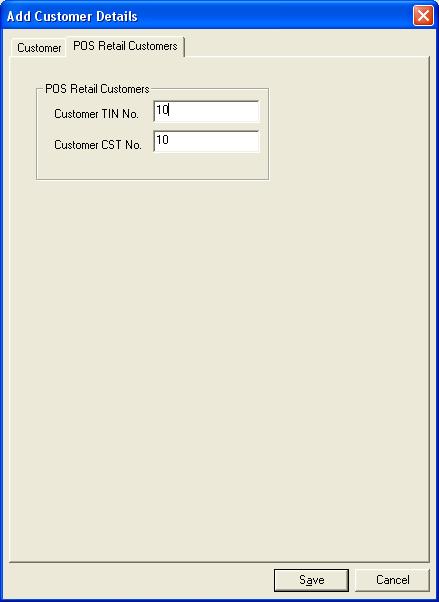
Fig 92: POS Retail Customers Screen
Edit customer
By
using this menu you can edit customer. When you click the Edit Customer
menu, Search customer dialog will be displayed. Using this window you can search
and select customer. After selecting Customer, click on Edit
button/double click on selected customer to edit the Customer. While clicking on
Edit button Edit customer window will appear.
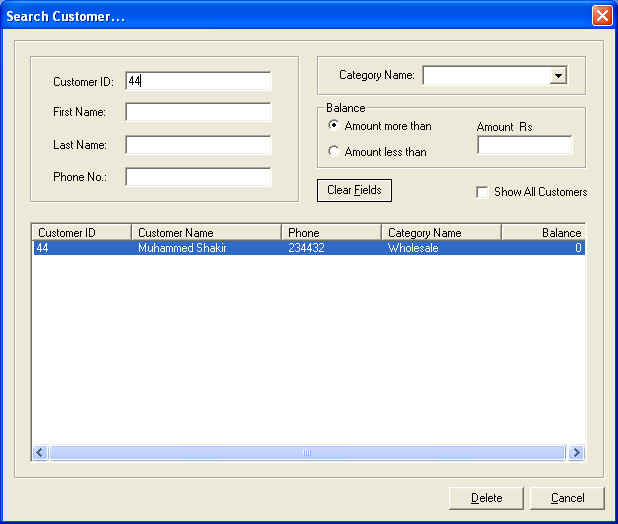
Search
Customer Dialog Box is as shown in Fig 25. Edit
customer Window is as shown in Fig 26. After making
necessary changes click on Update button to save the changes to the
database.

Fig 25: Search customer Screen
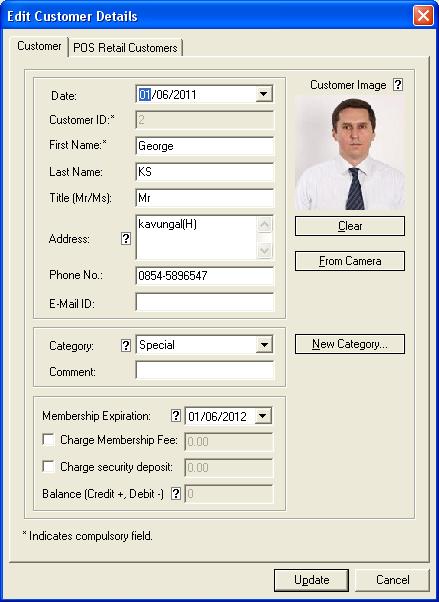
Fig
26: Edit Customer Screen
Delete Customer
By
using this menu you can delete customer. When you click the Delete Customer
menu, Search customer dialog will display. Using this window you can search and
select customer. After selecting Customer click on Delete button/Double
click on selected customer. While clicking on Delete Button Delete
customer window will appear. You can delete the customer from Delete customer
window after confirming the customer.
If
the Customer have a balance amount then a message box will appear as like in Fig
28 A. Again if you want to delete the customer click on Yes. If the
Customer conduct any Sales or close/cancel Transaction then it will ask to take
the backup as shown in Fig 28 B. If you have not
taken the backup, you will loose all the sales and close/cancel transactions of
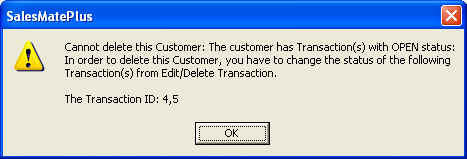
the customer. If the customer conduct any Open transaction then a message will
appear as shown in Fig 28 C. If the customer doesn’t
have any balance amount from sales and transaction then another message will be
asked as shown in Fig 28 D.
Search
Customer Dialog Box is as shown in Fig 27. Delete
customer Window is as shown in Fig 28.
Fig
27: Search Customer Window
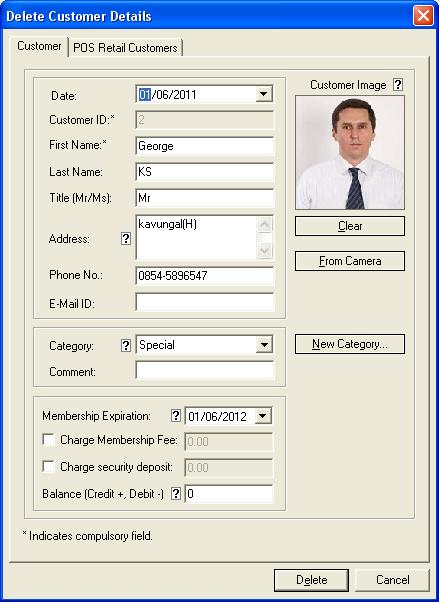
Fig
28: Delete Customer Window

Fig
28 A: Balance Amount Message
Fig
28 B: In the case of open transaction

Fig
28 C: In the case of Close/cancel Transaction and Sales
If
you click on Yes then Browse window will appear and you can select the path to
save database from there.
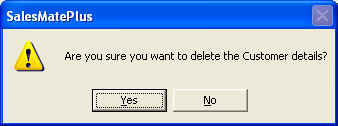
Fig
28 D: Confirmation of deletion
Find Customer
This
Menu item allows you to find out a particular Customer. If you want to see all
the customers, you can select the Show All Customers. You can search a
particular customer using Customer ID, First Name, Last Name, Phone No.,
Category Name and amount of Balance or any combination of these fields. For Eg:
you can find out customer using Customer ID, First name and Balance. If you want
to clear all Identification fields as well as list, then click on Clear
Fields button. After selecting a particular customer Click on Show
Details button/double click on selected customer to show the details of the
Customer. The Output is as shown in Fig 29 A.
Find customer
screen is shown in Fig 29.
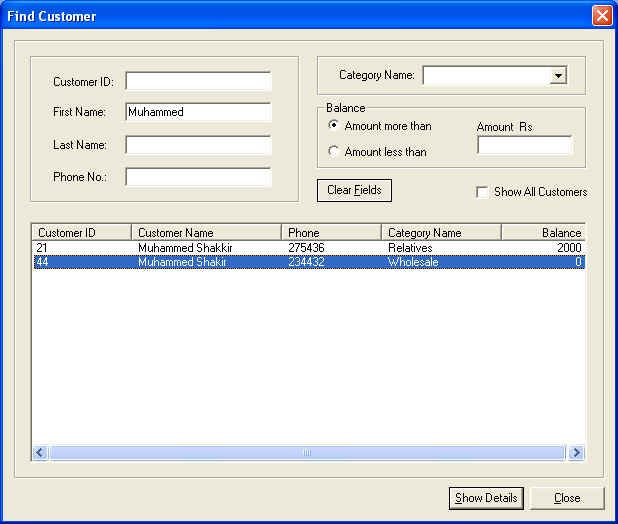
Fig
29: Find Customer Screen

Fig
29 A: Output of Find Customer